


 Edinburgh


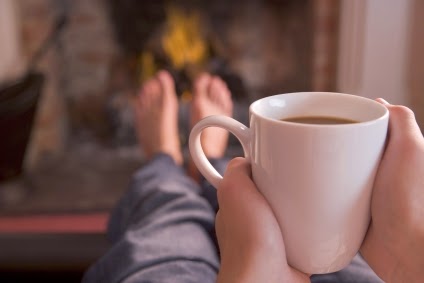


 It's my favorite type of soap, by far. But I also enjoy the Castile bar soap...& so does my hubby. If we don't use my homemade glycerin soap, we use this; admittedly, my husband likes a little more lather than my glycerin soaps provide.
 There are a few reasons why I make glycerin soaps: 1) it's SO easy, 2) our family's skin is 'on the oily side' (Castile works well for all skin types, but especially for oily & sensitive) and 3) I am an admitted coward when it comes to working w/lye! :-/
Well, thanks to a website I found, Happy Living.com, I do believe that I've found a great recipe for Castile soap bars that doesn't scare me quite so badly & that I'm going to try. :-) This recipe looks so easy & manageable that I'm very excited about it! I thought you might like to see it, too.
I invite you to look around the website, until then, here's the recipe:
Using natural or homemade soap is a trend that has seen an enormous popularity in recent years; it's a great way to know exactly what you're putting on your body as well as keeping old traditions alive. One of the more popular forms of homemade soap is Castile soap, a gentle lye soap that's named after a region in Spain (it's country of origin.)
Castile soap is perhaps one of the gentlest soaps to date, a fact that makes it the choice of many mothers when choosing a first soap for their babies. It's made with 100% pure olive oil (which is one way to tell whether or not it's a true Castile soap), and is naturally very mild and moisturizing.
To make your own Castile soap, you'll need the following:
2 lbs. 100% pure olive oil
2 oz. beeswax pearls
4-5 oz. lye crystals (available at most hobby and department stores)
10-12 oz. distilled water

2 oz. scented oil (herbal essential oils work best)
food coloring (a color to match the scent of the oil is recommended)
~You will also need mixing bowls (glass, if possible), wooden spoon, pots, molds, and safety glasses. Any material you use in soap making should be reserved ONLY for soap making if possible; lye can be very dangerous if ingested or gotten on the skin, and you don't want to re-use a pot that's had lye in it for cooking.
~Once you have all of your ingredients, begin by melting your beeswax into your olive oil. Heat the oil to around 100 - 120 degrees, and set aside (maintaining the temperature of the oil). You should then put on your safety glasses and begin adding the lye SLOWLY to the distilled water; stir well. The water will begin to heat as it reacts with the lye, and will need to cool until it reaches the same temperature as the oil mixture.
~Once the lye has cooled sufficiently, begin SLOWLY adding the lye to the oil. You should always add lye to other materials, and not the other way around; pouring any liquid into lye crystals or a lye mixture could cause it to splash, and lye can cause burns if it comes in contact with the skin. All lye work should also be done in a well-ventilated area.
~After you've added all of your lye to the oil mixture, begin stirring it until it "traces", or you can see the path of the spoon for a few moments after it passes through. This is also the time to add your fragrances and any pigment to the soap mixture (though don't go overboard with either, since you don't want an overpowering scent or soap that will dye your skin.)
~Once the soap begins to trace, pour it into the molds you have or into a greased plastic pan to allow it to set. Placing freezer paper in the bottom of the pan (if that's what you're using) will allow for an easier removal once the soap is finished.

~You can now remove the soap from the molds (or remove it from the pan and cut it) and place it on a drying rack for about 2 weeks or longer. This allows the soap to cure, and the more time that it has to cure will make it both harder and milder in the long run. The beeswax in the soap will also make for a much smoother and silkier bar once the curing is done. The bars may not lather well, as Castile soap sometimes doesn't, but they are one of the best soaps that you'll find.


Kim, are there sources for Castille soap that don't promote an obvious New Age philosophy? Hubby won't let me buy Dr. Bronner's, even though I know it would be the best thing for his hands. He needs to carry his own soap at work because he's allergic to the antibacterial soaps in the hospital.
ReplyDeleteDee ~ I know what you mean...another reason to make our own, right? '-) Anyway, I did find another Castile soap maker, try this link: http://www.biconet.com/home/castile.html It looks interesting & the prices aren't very high.
ReplyDeleteIt's ALWAYS good to see that you've visited!
Blessings from Ohio...Kim<><
Too scared of lye also! Let us know how it comes out.
ReplyDeleteI want to make soap, wonder if I can get the stuff here. hmmm....
ReplyDeleteJust wanted you to know there is a blog award waiting for you at my blog. You are not really new to me, but I have not gotten a chance to award to you before and I really like your blog!
Amy
http://missionalmamassoul.blogspot.com/2010/10/blogger-award-my-very-first.html
I love this idea, but scared of lye too!
ReplyDelete